
Current Pokemon Features
A rundown of core, world, and battle systems in PokeSaga, with completion status for each area.
Content Snapshot
Jump to
Core Mechanics
World & Progression
Battle Mechanics
Core Mechanics
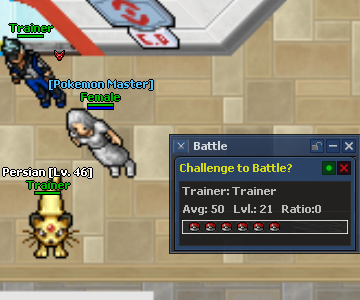
Go/Back System
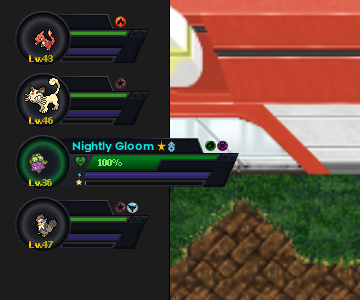
Summon and recall Pokemon from Pokeballs. Each ball stores that Pokemon's state. Use a ball in your bag or the Pokemon Bar to send one out, and check HP, level, and Exp on the bar while it is active.
Catch System
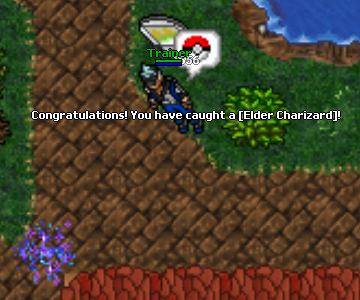
Throw balls at defeated Pokemon to catch them. Each species has a base catch rate modified by ball type, the target's level, catch flutes, and related bonuses. Failed throws still build catch progress for that species. Recent server catches appear in the Catch Table UI. Wild Pokemon, including legendaries, can be caught this way.
Shiny System
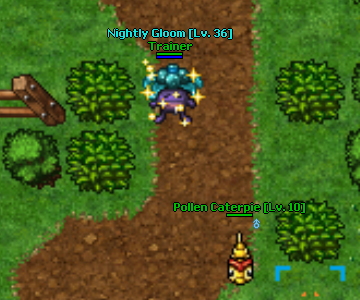
Wild Pokemon can spawn as Shinies. Shinies gain a 20% bonus to their stats. They are rare to find, tend to be harder to catch than their normal forms, and can evolve, but shiny evolution rolls at a much lower rate.
Leveling System
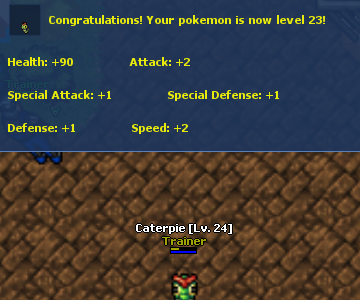
Pokemon level up to 100. On each level, eligible moves and evolutions roll by chance. Learn odds scale with move tier and rise with Happiness and some items. Rare Candies and Rage Candy Bars help with progression.
Evolution
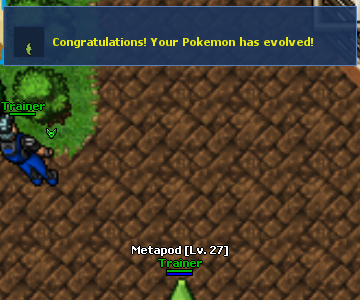
Once a Pokemon reaches its minimum evolution level, each new level can attempt to evolve. Extra requirements still apply, such as time of day for some Eevee lines. Held evolution stones raise the odds for matching types but do not guarantee success, and they are consumed when the evolution lands. Species that require a stone (for example Gloom) will not roll without one. Species that do not require a stone (for example Charmander) can still benefit from holding a matching stone.
Happiness
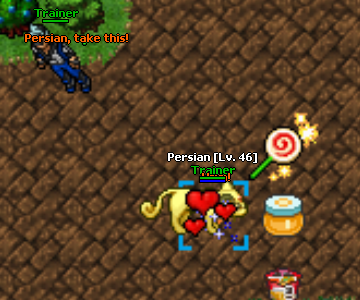
Happiness is a hidden bond value on every Pokemon. It rises from battle wins, leveling, and gifts, and falls when the Pokemon faints. Higher Happiness improves the odds of learning moves and evolving. Food and other gifts help raise it.
Moves & Learnset
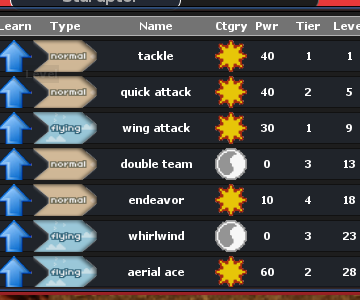
Every Pokemon holds up to 4 moves, learned by leveling, TMs, or tutors. Moves can be forgotten and later relearned from the learnset. With a Heart Scale, the Move Reminder NPC restores moves your Pokemon has already learned and forgotten. TMs teach compatible moves — they drop from Pokemon, come from quests, and can be traded. Tutors also appear in places such as Dream Radar routes. Wild Pokemon roll simulated level-up movesets, so two of the same species can know different moves even at the same level.
Birthplace
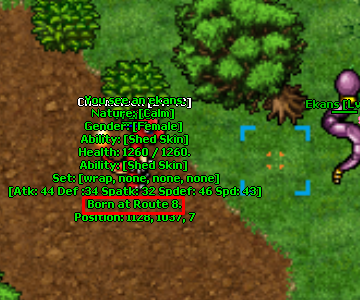
Each caught Pokemon records a birthplace area. That tag can unlock special traits for certain spawns, such as area-linked moves or forms. The tracking layer is live; more birthplace-specific content is still being filled in.
HMs
Field moves available in PokeSaga:
- Fly: travel the map by air and land on allowed spots. No battling while flying. Requires the Volcano Badge (7th Kanto badge).
- Surf: travel on water. No battling while surfing. Requires the Soul Badge (5th Kanto badge).
- Ride: mount a rideable Pokemon for faster travel (trainer speed plus Pokemon Speed). No battling while riding.
- Cut: clear certain plants to open paths, find items, or reveal hidden Pokemon. Requires the Thunder Badge (3rd Kanto badge).
- Rock Smash: break certain rocks for paths, items, fossils, or hidden Pokemon. Requires the Rainbow Badge (4th Kanto badge).
- Headbutt: use on certain trees for a chance at special encounters or drops.
- Transform: Ditto copies another Pokemon's appearance and moveset.
- Dig: used for ground-related exploration access.
- Dive: used to reach underwater areas.
Shooting Star System
Stat Building
Permanent power growth without IVs:
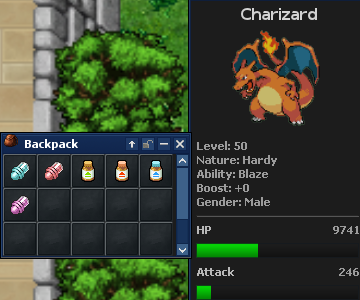
- Natures: many raise one stat by 10% and lower another by 10%, while neutral natures change nothing. Nature Capsules can reroll a Pokemon's Nature later.
- Vitamins: rare items that permanently raise a Pokemon's stats. Each vitamin adds 1% to the matching stat, and a Pokemon can use up to 50 vitamins.
- Boost Machine: use matching evolution stones (or a Mighty Gem) to raise a Pokemon's boost level. Higher boosts need more stones per step, up to the boost cap.
PokeGear
PokeGear equips onto Pokemon in four slots: body, neck, paws, and held. Effects vary by item, from stat and elemental bonuses to move-tag bonuses and utility holds. Feeding a matching piece into an already equipped slot refines it. Refinement goes up to +10, and each gear tier sets how many pieces you need per step.
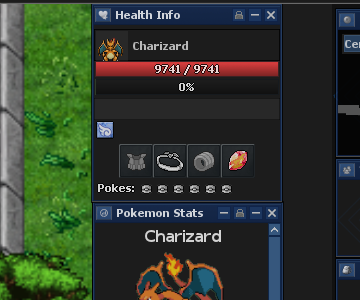
Equipping a different item in the same slot returns the previous base item. Refinement on that slot resets rather than transferring as a lower upgrade on the returned piece.
Evolution stones are held-slot PokeGear. They raise evolution odds for matching types but do not guarantee evolution, and they are consumed when the evolution succeeds. They can be refined like other gear.
Mega Evolution
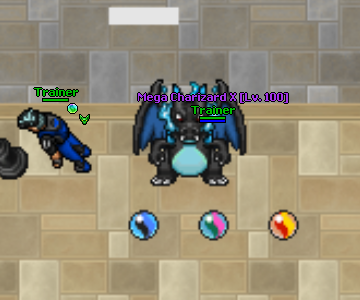
Eligible Pokemon can Mega Evolve into stronger forms with new stats, typing, and often a new ability. Mega forms are tracked in the Pokedex like other species. Mega Charm can raise encounter odds for Mega-related wild spawns while active.
Spawn Charms
Activate a Spawn Charm to boost special wild spawns for 30 minutes per charge (up to 3 charges on the item). Only one charm can be active at a time:
- Shiny Charm: improves Shiny spawn odds.
- Mega Charm: improves Mega-related spawn odds.
- Regional Charm: improves Regional form spawn odds.
Mystery Gift
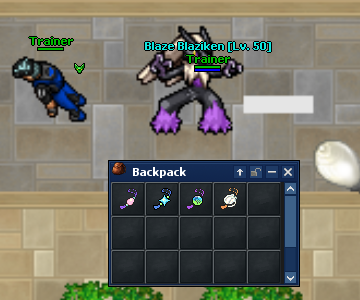
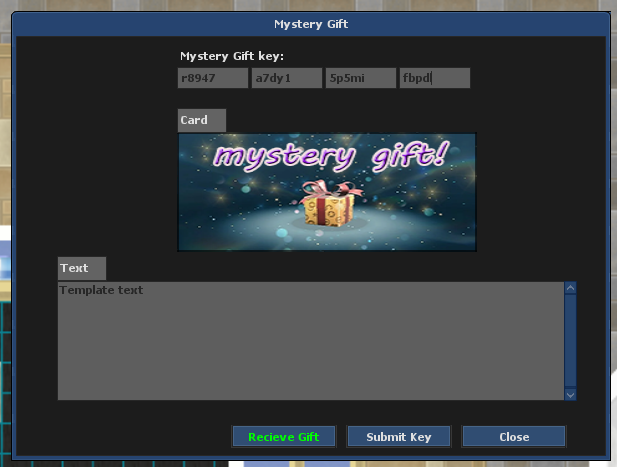
Redeem serial keys in-game for prize packages. Keys are handed out through outside events such as streams and championships.
Pokedex
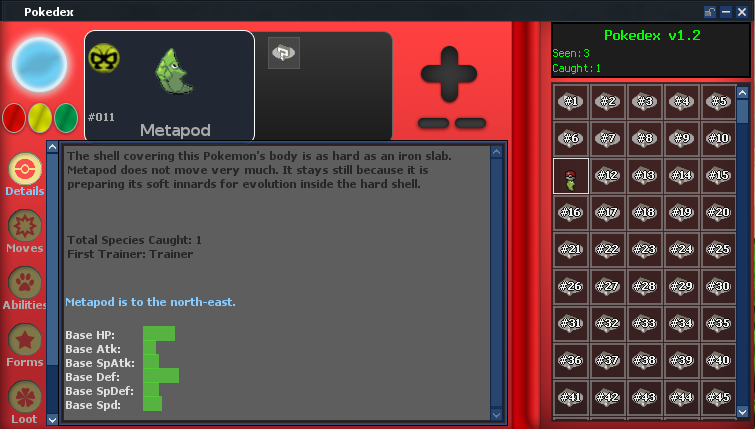
An in-game Pokedex with species info, stats, and related data. Catching a Pokemon unlocks its entry. Dex progress ties into quests, achievements, and Professor Oak rewards as you fill it out.
Market / Pokemon Market
An automated item market, plus a Pokemon trade window for selling or auctioning Pokemon.
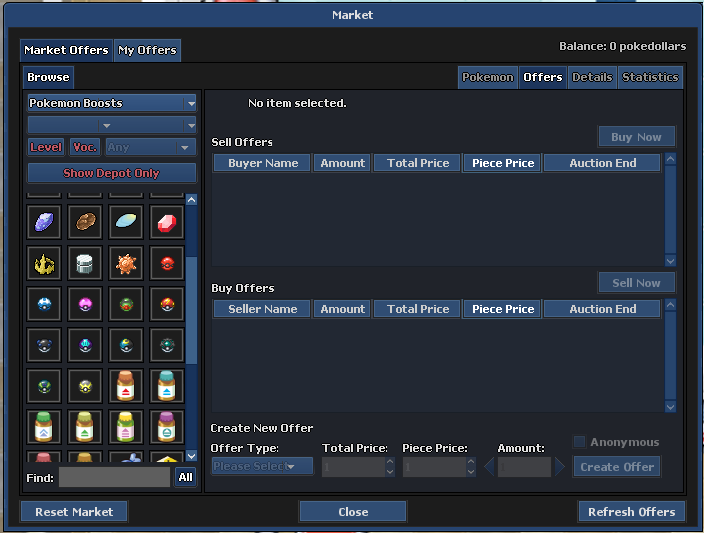
Special Spawns
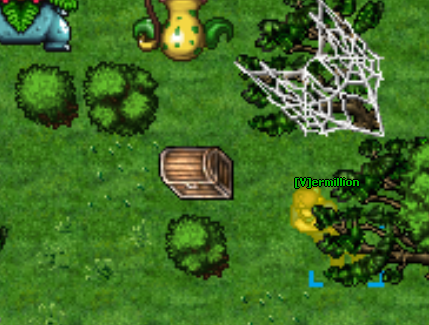
Defeating Pokemon can rarely leave special world spawns nearby, including PokeChests and stronger chest tiers with valuable rewards, as well as catch-related altars.
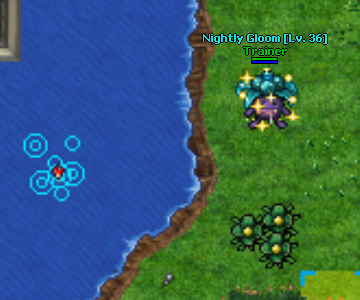
Fishing
Use a fishing rod to encounter water Pokemon. Pools depend on region and fishing skill, and some species or rarities are fishing-only or tied to special spots.
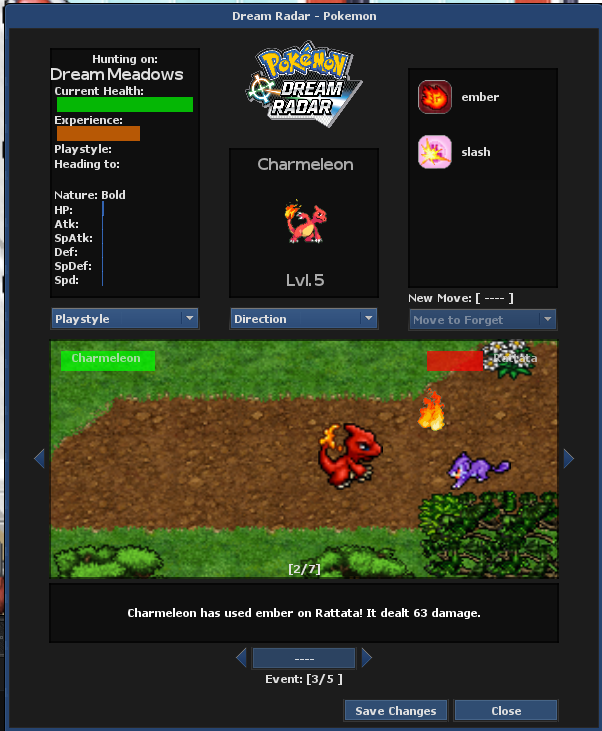
Dream World
Send Pokemon into the Dream World with the Dream Radar. You can issue limited orders such as behavior or direction, but they mostly adventure on their own across many routes. They can send back items, including Dream Elixirs that double catch, drop, and experience rates for 15 minutes.
When a sent Pokemon is defeated there, you receive its Dream Orb. Orb type follows that Pokemon's typing (for example, a Charmeleon yields a Fire Dream Orb). Using an orb grants type Exp toward an efficiency bonus for moves of that type. Any Pokemon can use any orb type, so a Squirtle can still invest Fire type Exp to strengthen its Fire moves.
Fossils
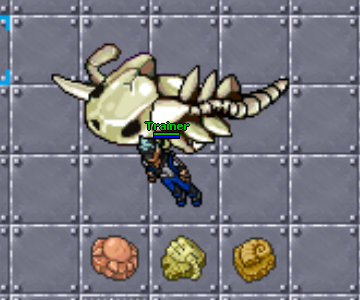
Rock Smash on map rocks can yield fossils. Bring them to Dr. Kuseno on Cinnabar Island to revive and battle fossil Pokemon.
Safari Zone
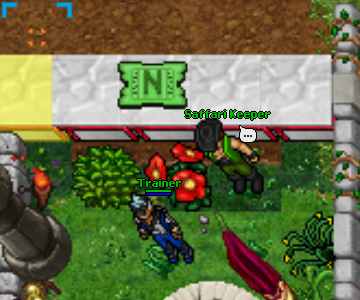
Enter the Safari Zone with a ticket for a 30-minute hunt. Battle and catch Pokemon that are exclusive to the zone.
Ball Crafting
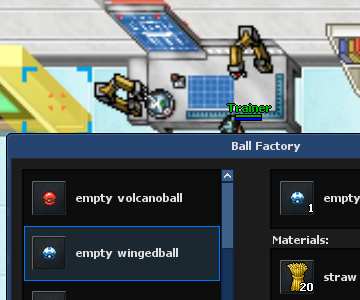
Craft Pokeballs from materials at the Ball Factory. Different ball recipes use different components, so farming and trading materials feeds into catch strategy.
World & Progression
Gyms & Pokemon League
Challenge the eight Kanto Gym Leaders for badges that unlock field moves and mark your progress. Route trainers fill the roads between gyms with rematchable battles and loot. At the Indigo Plateau, face the Elite Four and the Champion. League clears can award Plateau Tokens for vitamin trades. Badge gates also power HMs such as Cut, Surf, and Fly.
PokePhone
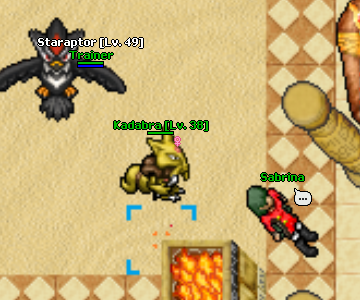
After defeating trainers, add them to your PokePhone Match Call list and rematch them when their cooldown ends. Professor Oak is also on the line for dex milestone prizes as your Pokedex grows.

Achievements & Titles
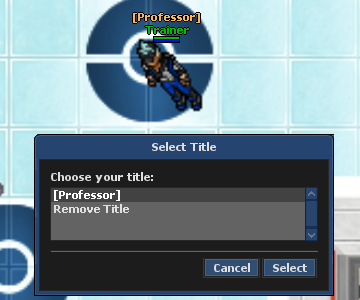
Earn achievements for catches, NPC battles, fishing, evolutions, PvP, badges, Pokedex progress, and more. Unlock selectable name titles that show next to your character.
Pokemon Outfits & Auras
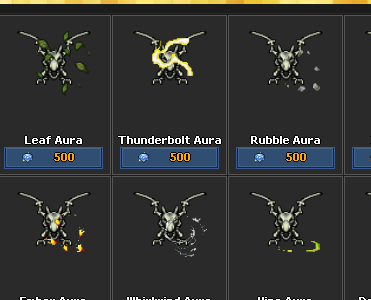
Cosmetic looks for your active Pokemon. Many species have unlockable alternate outfits (skins) you can switch while the Pokemon is summoned. Unlock outfits through the shop, events, and other rewards — they stay on that Pokemon's ball.
You can also equip auras or shaders as a visual effect. A Pokemon can use only one effect at a time (aura or shader, not both). Outfits and effects are cosmetic only and do not change stats or moves.
Dungeons
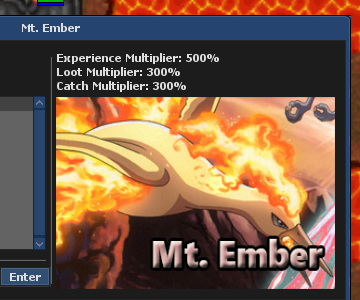
Enter instanced dungeons for timed runs with boosted spawns, loot, and bosses. Current instances include Seafoam Shore (Articuno), Mt. Ember, and the Power Plant. Party play scales enemy health. Clear them for rare rewards and stronger catch opportunities.
Battle Mechanics
Control your Pokemon
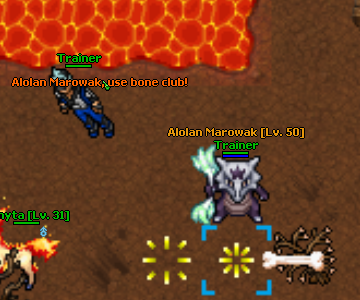
When you summon, you control the Pokemon directly (PaPo). Movement uses the Pokemon's Speed, which helps with dodging and aiming moves. The trainer follows as a summon you need to protect. Recalling the Pokemon returns control of the trainer.
There is no classic Tibia auto-attack loop. Aim waves, beams, and skillshot moves yourself. Many attacks are skillshots: aim with the mouse instead of locking a target. Opponents can dodge or teleport out of the way, and a bad aim misses. There is no separate accuracy roll on top of that positioning skill.
Move Economy
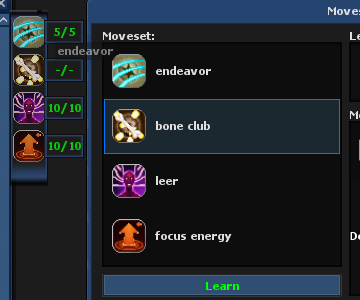
Moves use tiers 1–4. Power often follows the main games, but ranges, areas, and secondary effects are tuned for real-time combat. Signature quirks such as Dream Eater or Snore are kept where they fit. Weaker early moves stay useful through better PP and cooldowns:
- Tier 1: early and some niche signature moves. PP: infinite. Cooldown: 3s. Base learn chance: 12%.
- Tier 2: early and mid-game moves, including lighter status tools. PP: 20. Cooldown: 5s. Base learn chance: 8%.
- Tier 3: stronger status, healing, mobility, and mid-high power moves. PP: 10. Cooldown: 10s. Base learn chance: 6%.
- Tier 4: ultimates and the strongest tools. PP: 5. Cooldown: 18s. Base learn chance: 4%.
Higher-tier PP regenerates while the Pokemon is in its ball, with lower-tier pools recovering faster in absolute PP. Switching Pokemon still waits out each move's cooldown before you can use it again.
Range modifiers (relative damage factor):
- Melee: close range. Relative factor 100%.
- Distance: longer range. Relative factor 80% of melee.
Area modifiers:
- Single / Instant: 1.0x
- Beam: 1.1x
- Wave: 1.2x
Range and area factors stack in the damage pipeline. For move-by-move details, use the in-game Moves Window or Move Reminder.
Damage calculations
Damage uses a custom pipeline so Attack, Defense, Special Attack, Special Defense, and Speed all matter. Physical moves use Attack vs Defense; special moves use Special Attack vs Special Defense. Speed feeds movement and critical chance.
- Move Power: each move has power, usually close to the main games, scaled by the matching offensive stat.
- Move Multipliers: range and area tags above balance real-time shapes and hitboxes.
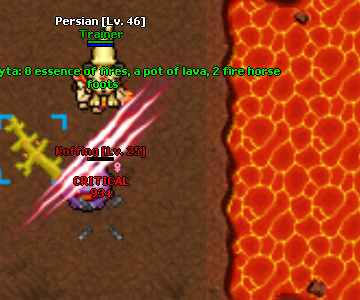
- Effectiveness: Super Effective shows yellow SUPER and doubles damage per matching weakness (two weaknesses stack). Resisted hits show gray WEAK and halve damage per resistance.
- STAB: same-type attack bonus is 1.25x when the move matches the Pokemon's type (for example Bulbasaur using Razor Leaf).
- Critical / Block: criticals show red CRITICAL and deal 2x damage (higher with Sniper). Block shows gray BLOCK and negates that hit; it is rarer than a critical and scales with defensive stats.
Abilities
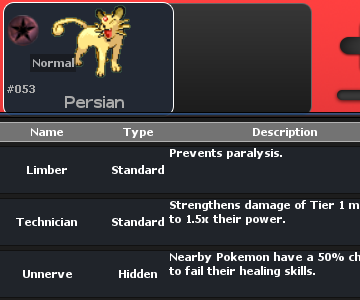
Every Pokemon rolls an ability on catch or spawn. Abilities can change damage, status, weather interactions, and other combat rules. Eligible species can rarely roll a Hidden Ability (1/100 among eligible options). Check abilities in the Pokedex and on your Pokemon's info.
PvP Duels
Invite another player to a duel outside protection zones and houses. Both sides ready up, then fight under duel rules with forfeit support. Each pair of players has a 24-hour rematch cooldown. Battle history is recorded for achievements and the Battle Table.